


Sharpening

Sharpening
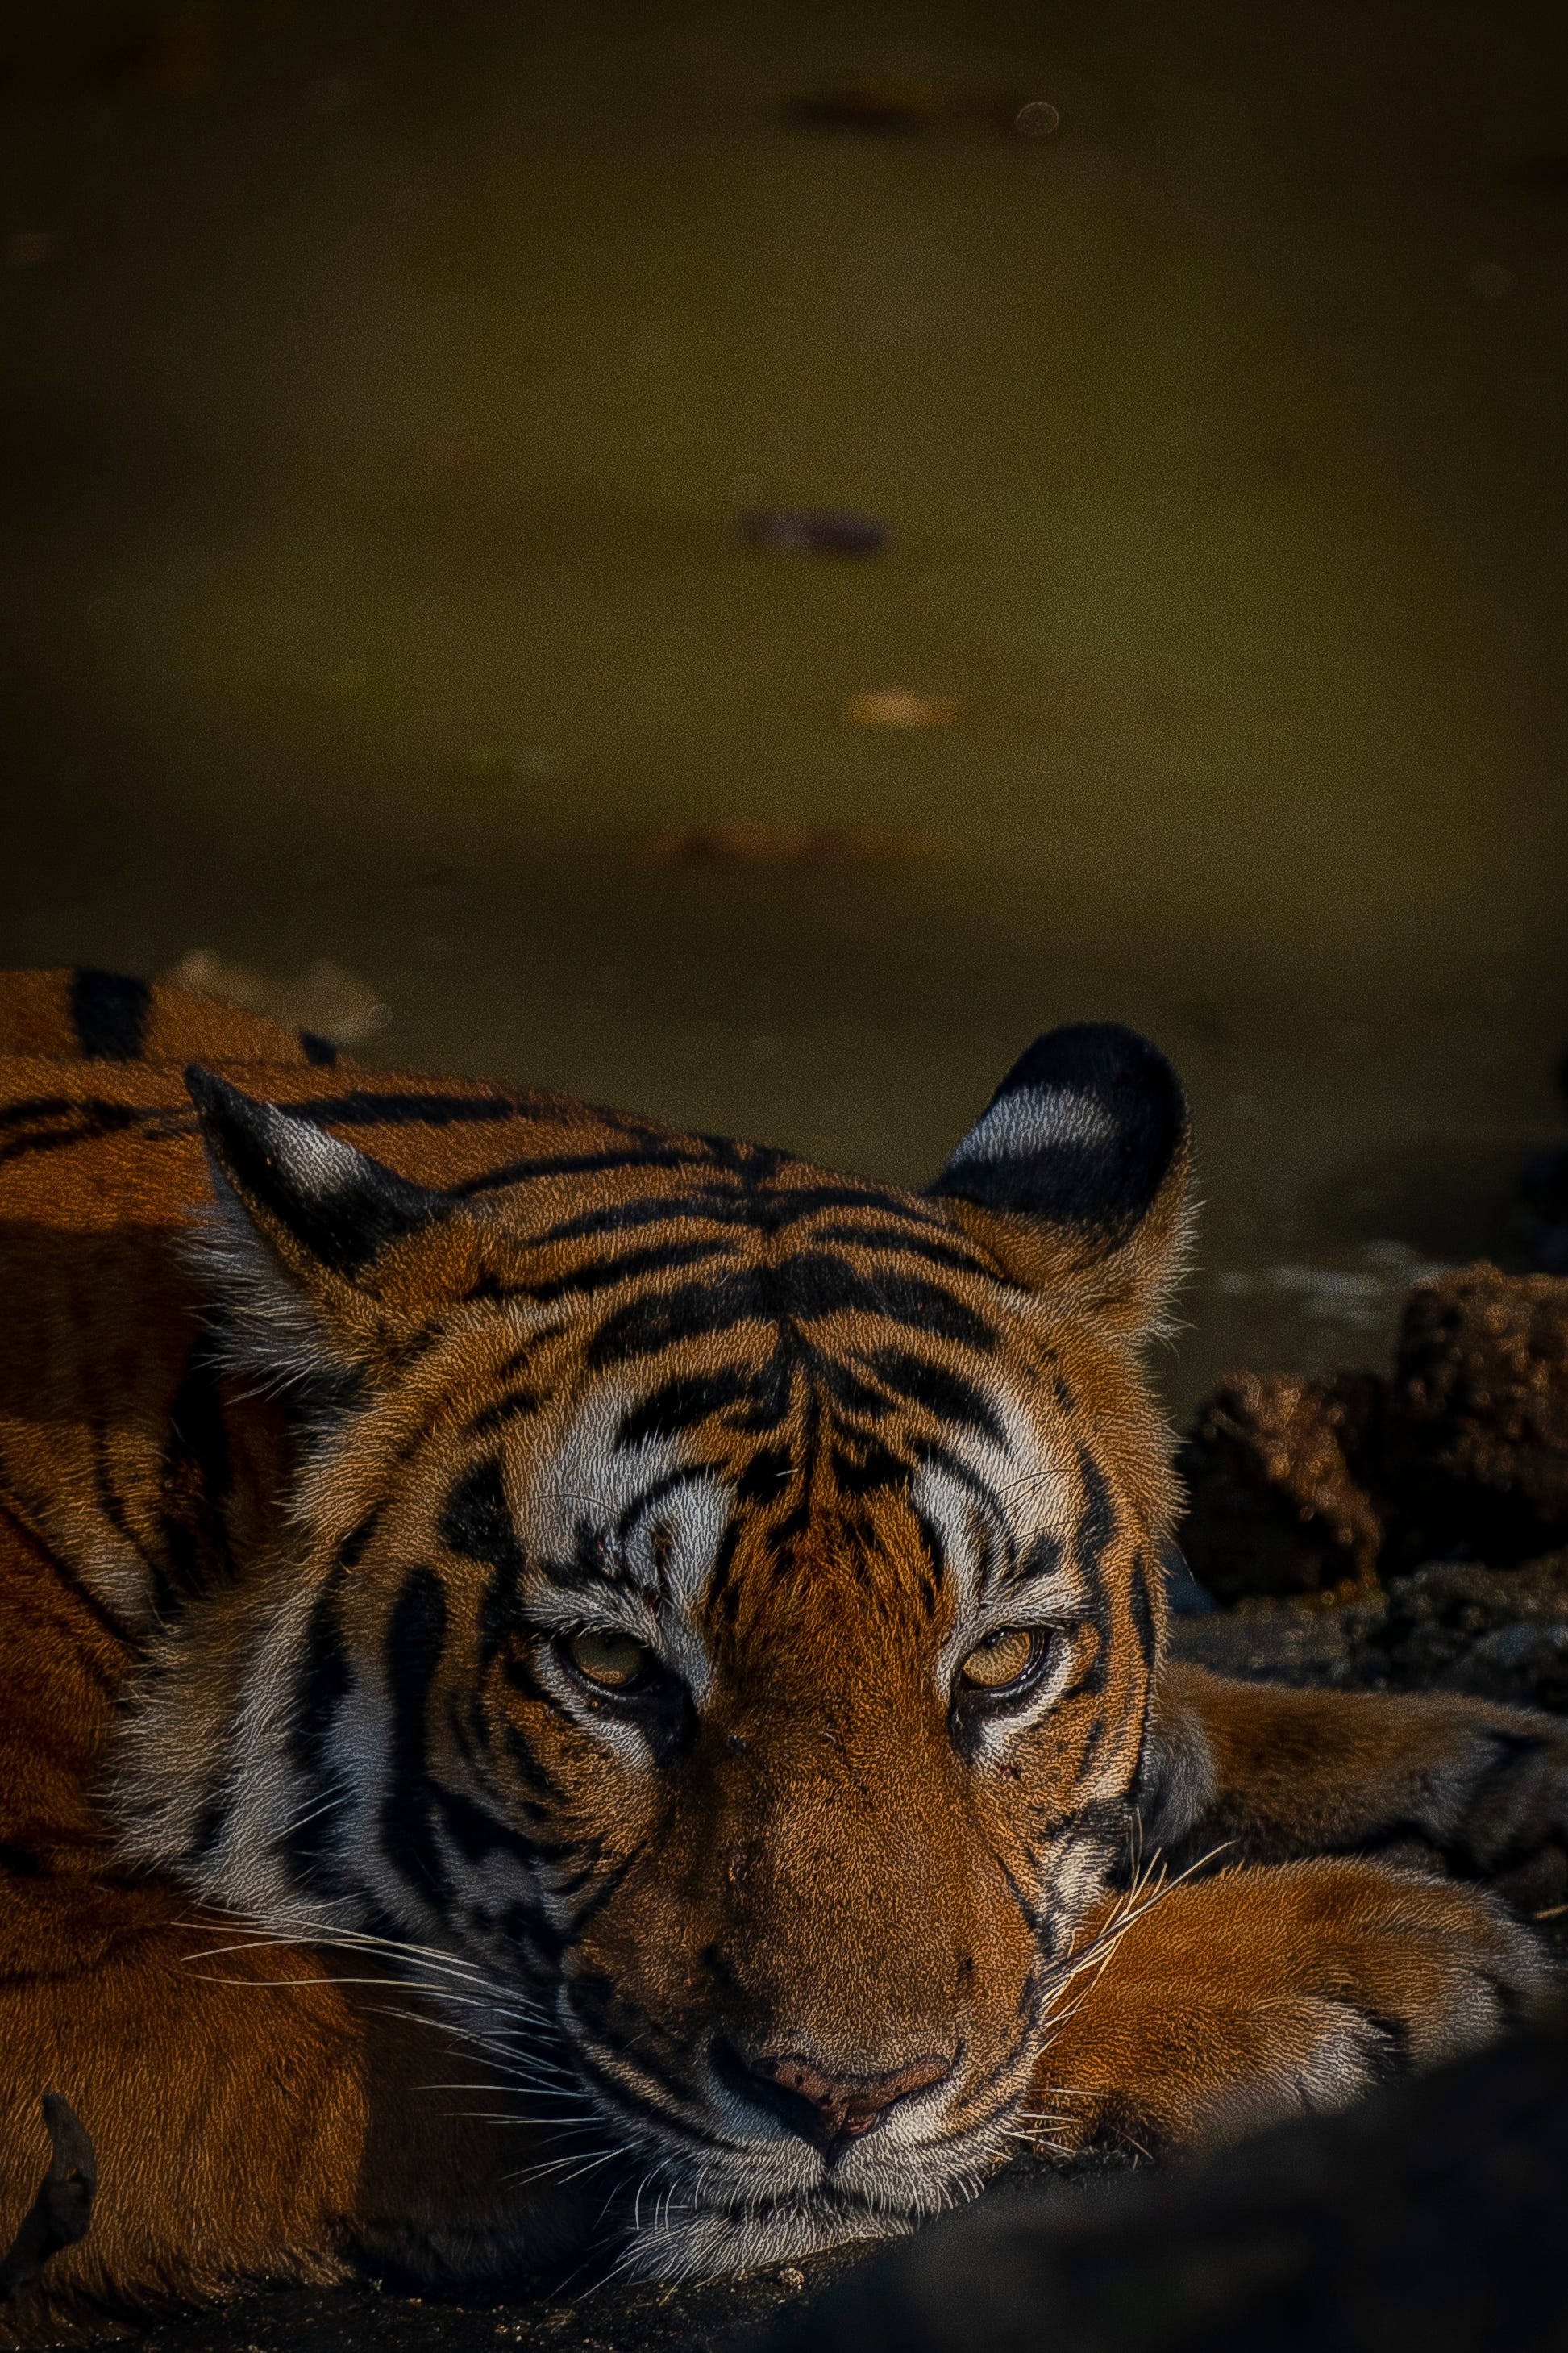
Sharpness is the measure of how detailed an image is. Sharper images are often better as their elements are easier to see, drawing attention to your photograph.
My last issue spoke about how sharpness improves images and the factors that affect it.
But how do you sharpen your photographs?
To adjust an image's sharpness on your device, select the photograph you want to rework and click the edit button. Then under the Adjust tab, scroll right till you reach the sharpness tool. Moving the sharpness tool towards the right sharpens the image by making high-contrast lines more crips and differentiated. However, it is easy to over-sharpen your photographs.
Over-Sharpening an image can do one of two things.
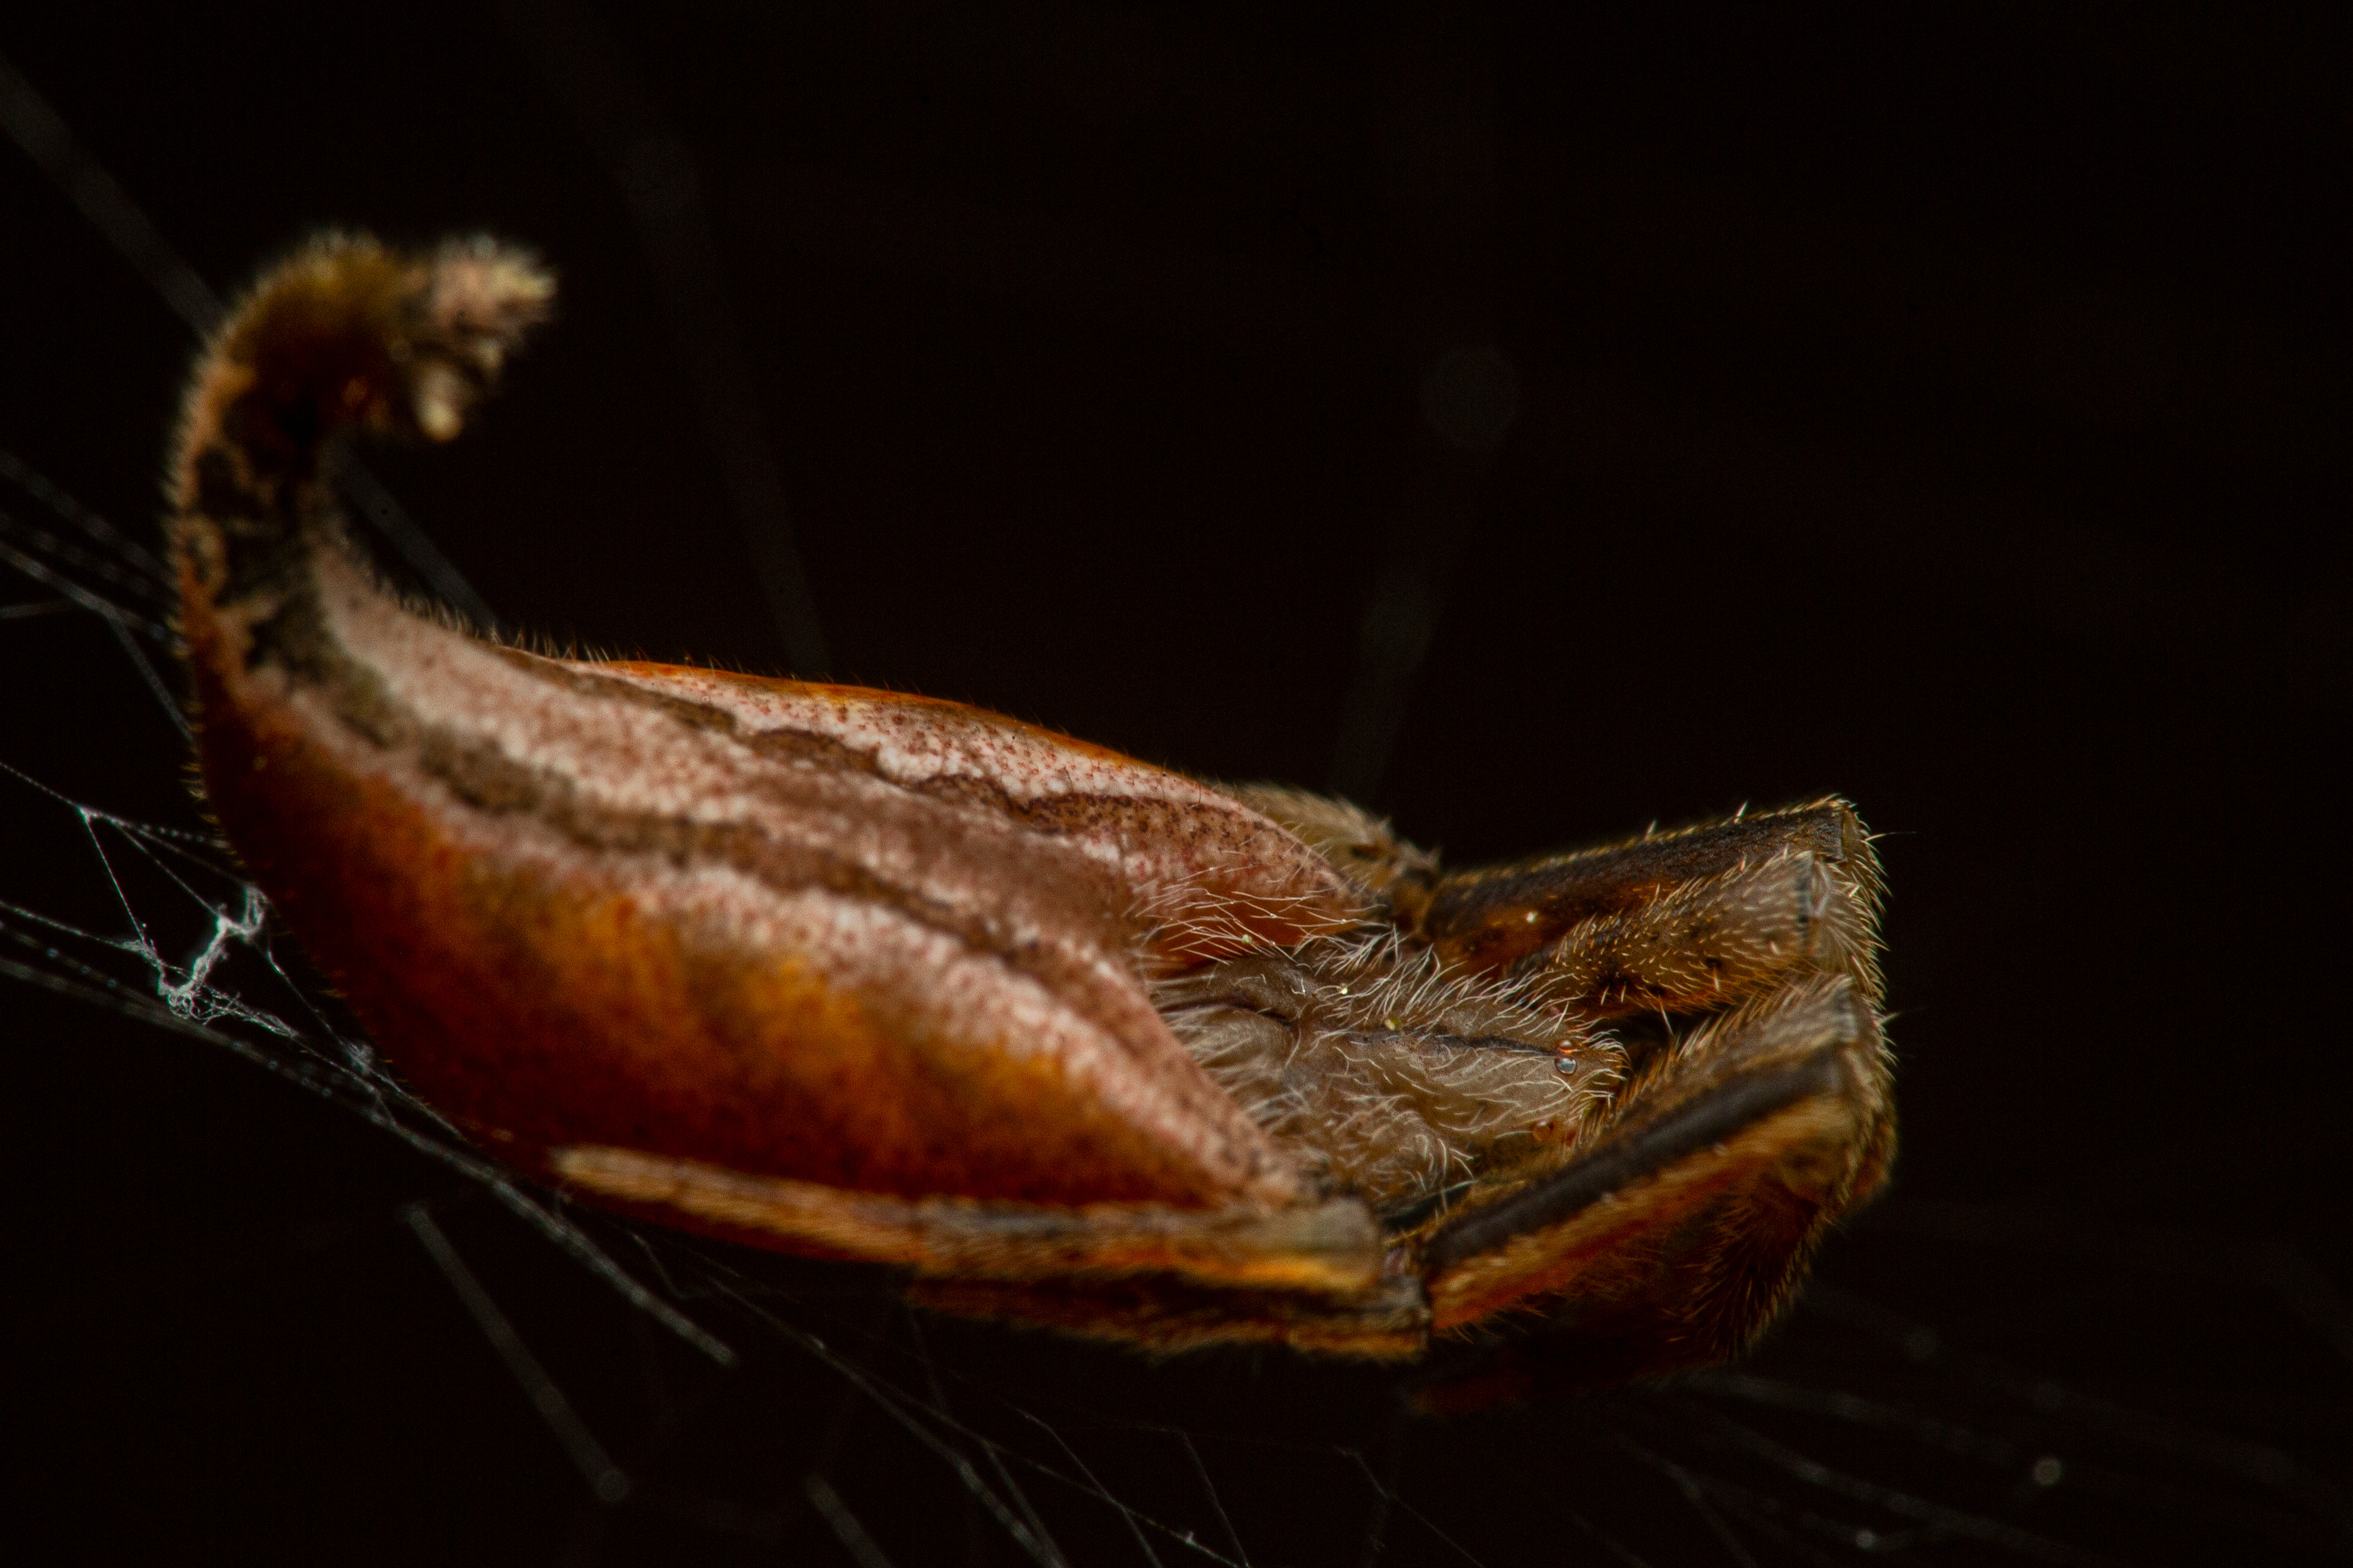
While sharpening makes image elements easier to see, it also makes noise more prominent, destroying your photographs.
Sharpening can also make the border between objects too clean, creating unnatural contrast and making images look fake and disturbing.
More advanced editing software like Lightroom or photoshop have features like radius size and masking that can help counteract the downsides of over-sharpening by eliminating some noise it produces. However, the best way to negate these effects is to sharpen them as little as possible.
Sharpness can be miss used, but it's still powerful and can transform images. It can create attractive beautiful photographs from ugly fuzzy pictures. So as long as you look out for over-sharpening, the sharpness tool will help you make stunning images effortlessly.
Thanks for reading Scientia Šerida! Subscribe for free to receive new posts every week!
Did you enjoy this issue? Share it with a friend who might love it too.
For similar posts browse Scientia Šerida Archive
Find me on Instagram as @dhruv_matthan
Or on Twitter as @DhruvMatthan